With every webpage loaded, email sent, or video streamed, network traffic takes a complex journey…
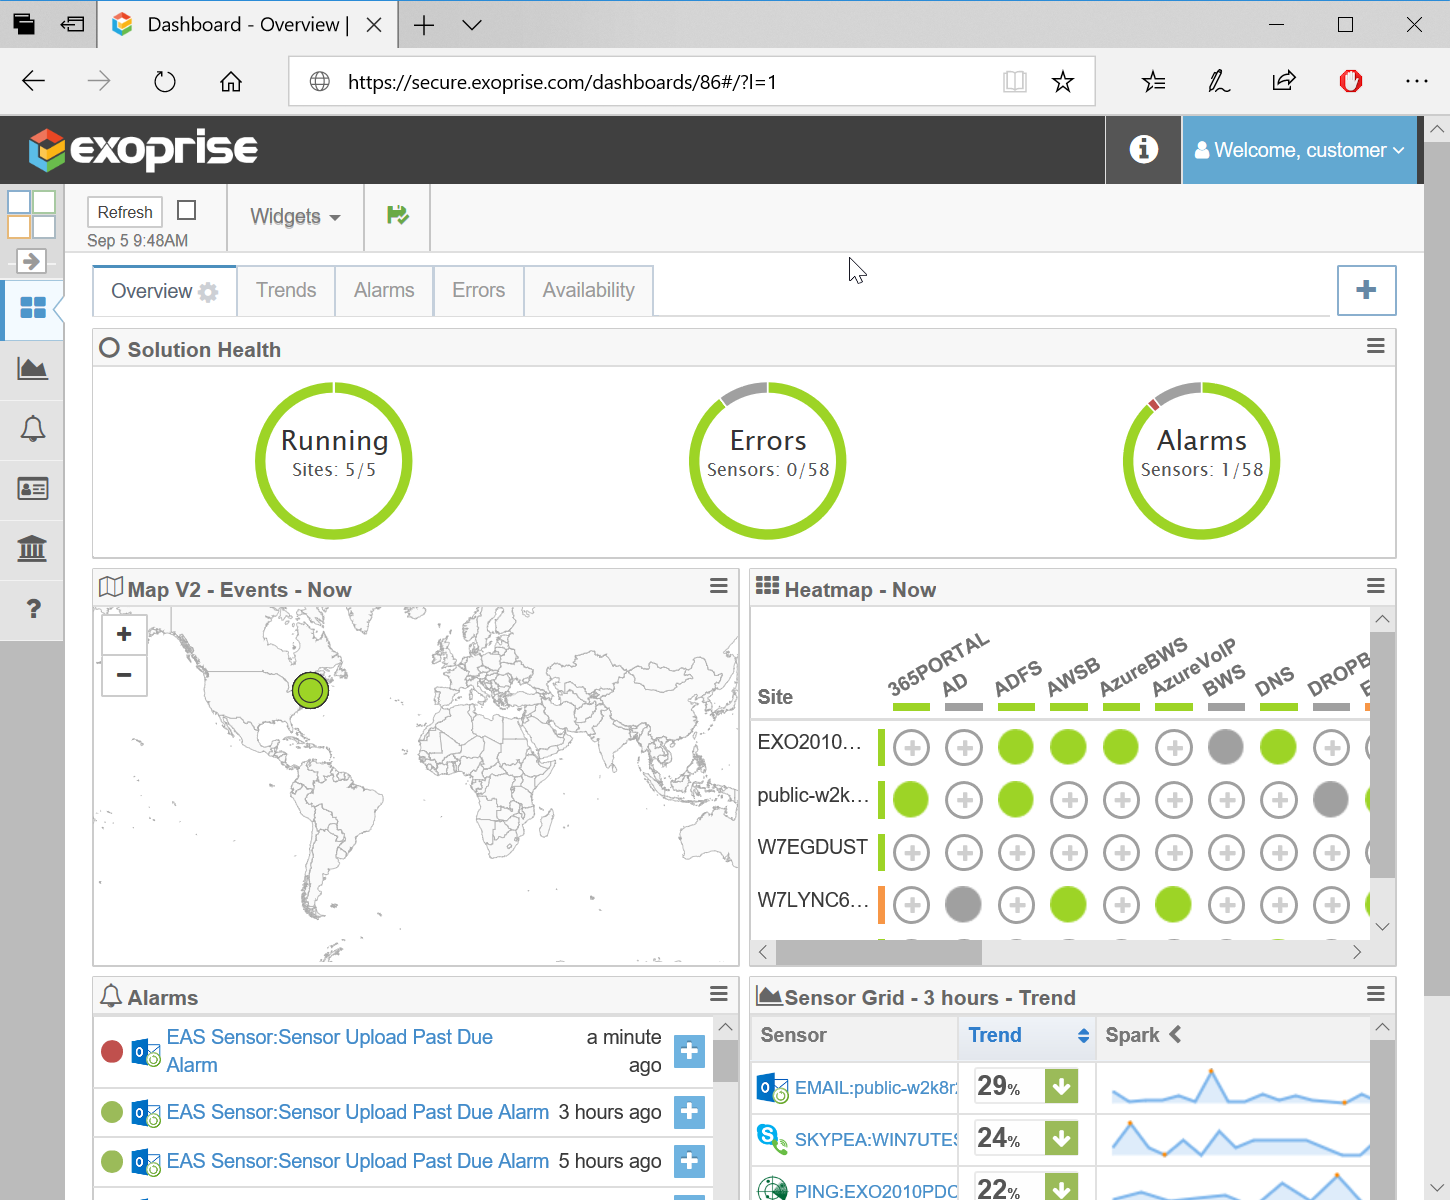
CloudReady dashboards enable a great degree of customization, a wide array of widgets, and the ability to build visualizations for monitoring the health, availability, and performance of all of your SaaS apps — especially Office 365. If you’re going to build a dashboard for all of your cloud/SaaS apps you want to be able to customize and get it just right for the different teams within your organization.
Customers build dashboards for the different groups within their organizations including for the Helpdesk, Network Operators, Application Owners, and for the CIO. Different dashboards and layouts can be built to enable real-time troubleshooting and long term trending of the performance and availability of a company’s mission-critical cloud and web services.
Sometimes we’re not so sure that people realize the full capabilities of our dashboards, so we’ve started a new series of blog posts that cover different aspects of our dashboards, layouts and widgets and tries to point out some tips and tricks to help make customization easier.
Dashboards & Layouts
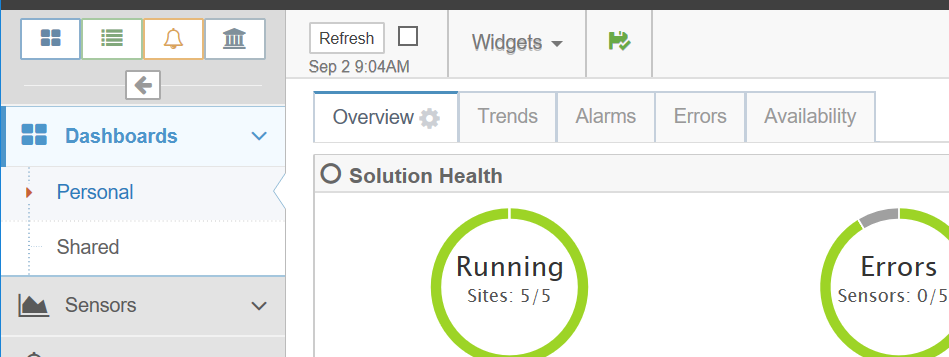
There are three primary objects when discussing the CloudReady portal: dashboards, layouts and widgets. Dashboards are containers of layouts (or tabs), layouts are containers of widgets. We use the term layouts and tabs interchangeably throughout the documentation. Currently, the product supports two primary dashboards by default the Personal Dashboard and the Shared Dashboard.
 +
+Starting Dashboards
When you first sign up for CloudReady, there are no sensors so not much to see.
When you deploy your first sensor, some default views automatically unfold for you in the Personal Dashboards section with pre-populated layouts. And any user that you invite into your Organization (tenant) gets the same default personal dashboard with layouts. There are four initial layouts provided but you can add more.
Shared Dashboards
Shared Dashboards are also available to any user that joins a CloudReady tenant. The Shared Dashboard area enables everyone to see the same views. Bookmark the Shared Dashboards to start in that area if you prefer.
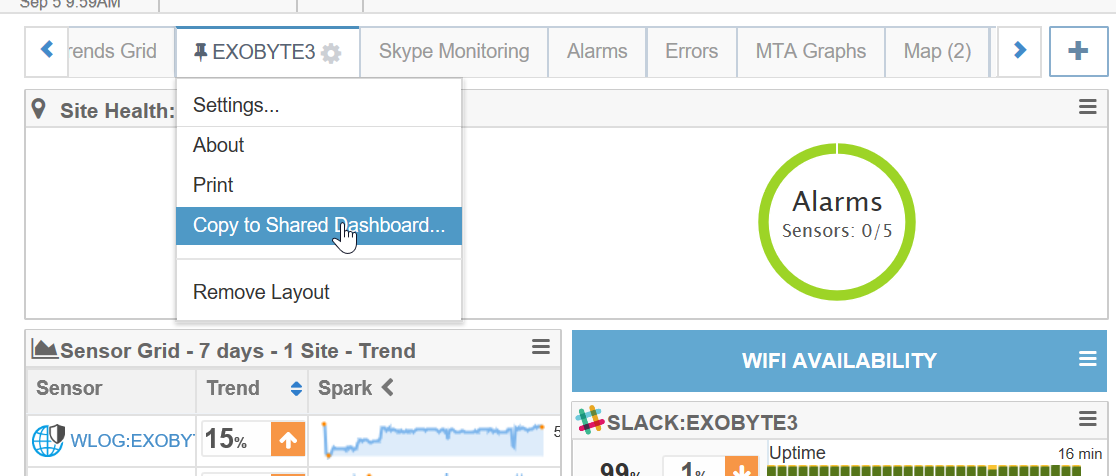
By default, the Shared Dashboards are empty but any administrator can copy a layout to the shared area. Additionally, layouts that are shared can be copied out from the shared area to the personal dashboard area for editing. If an administrator wants to edit or tweak a shared layout, then he or she should copy it from the shared area to the personal, make the changes, and copy it back.
 +
+ +
+Automatically Refreshing a Dashboard
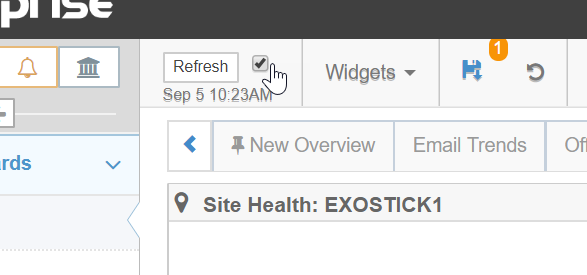
You can have a dashboard periodically refresh itself by clicking the checkbox next to the ‘Refresh’ button in the upper left area of the Dashboard. Save the Layout by clicking the save button right next to the checkbox, this saves the layout settings.
The currently selected layout will automatically refresh itself (about once every two minutes). The Date and Time indicator shows the time when the dashboard was last updated. To force an immediate layout refresh, click the ‘Refresh’ button which is quicker than refreshing the whole page using something like F5.
Layout Settings
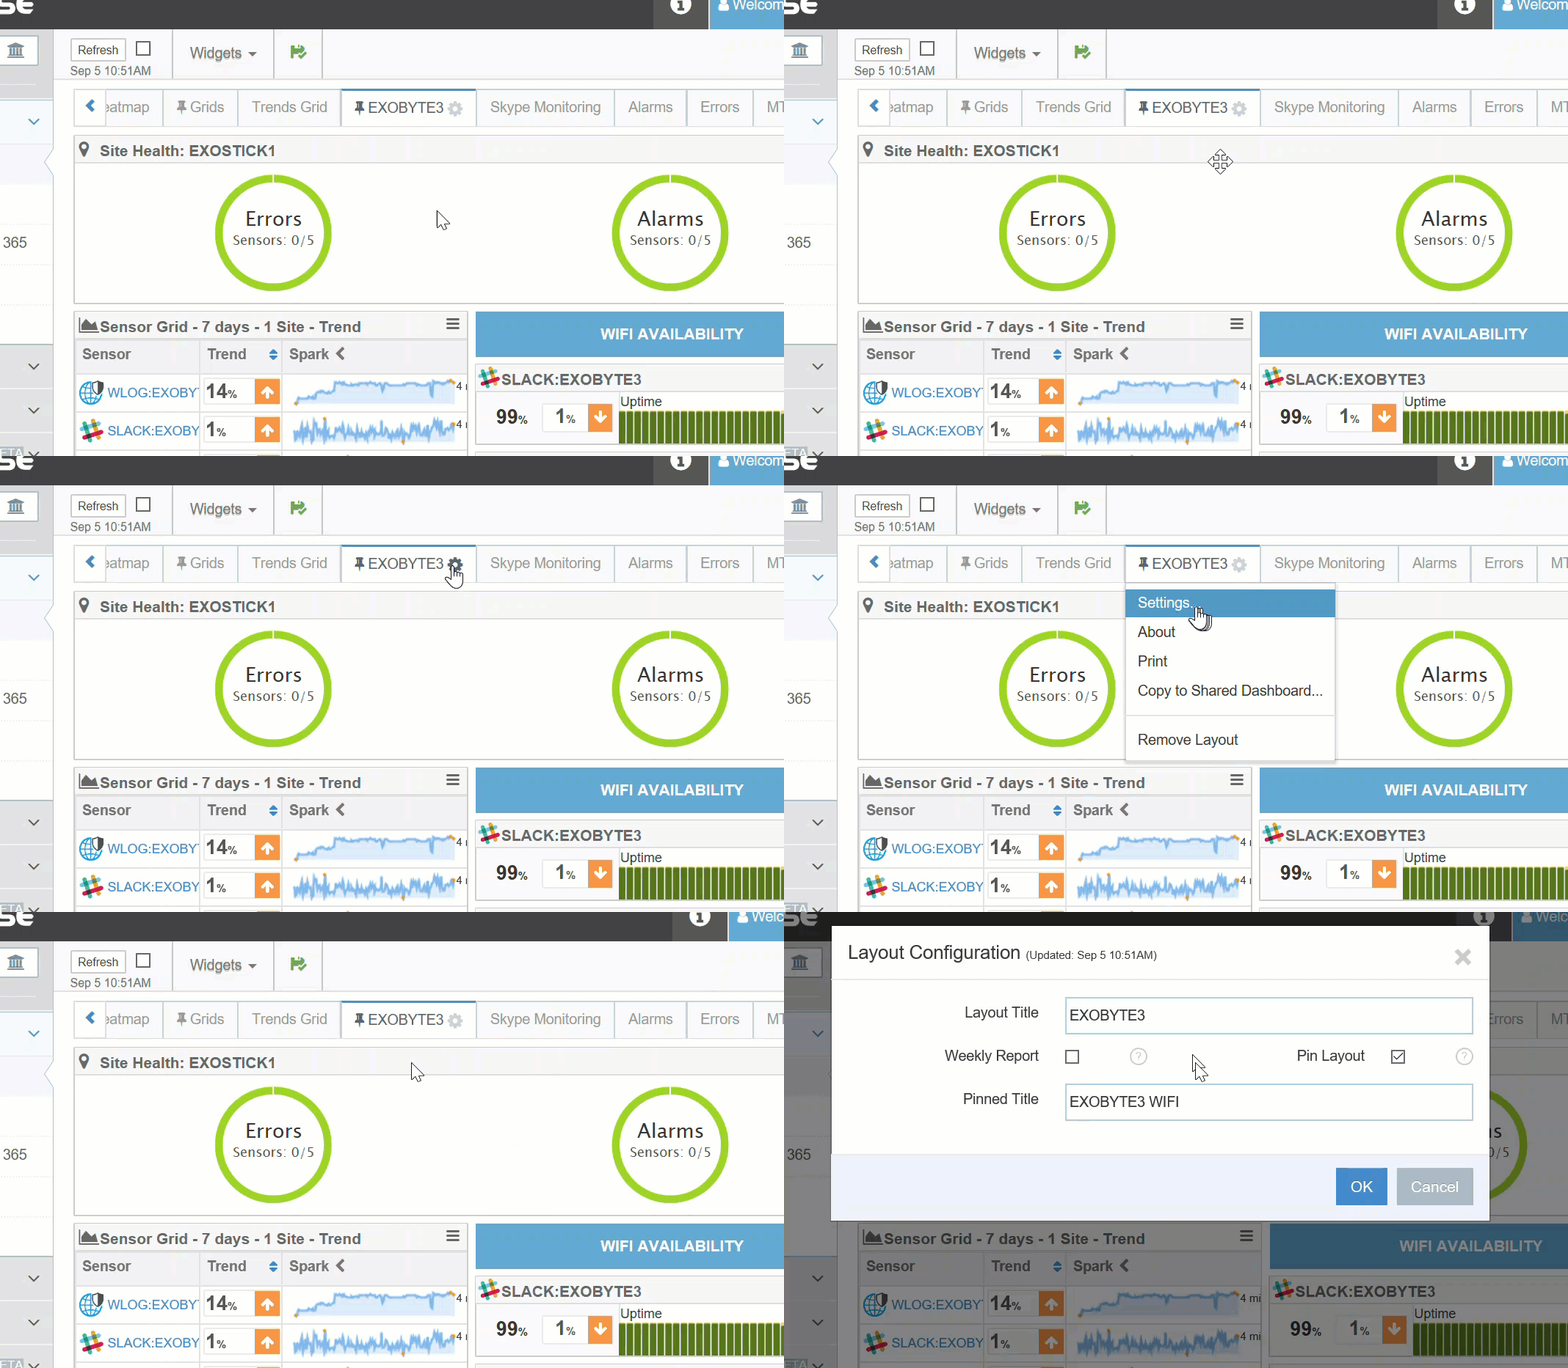
Layout settings can be accessed for the currently visible tab by clicking the gear icon right next to the layout name. This brings up the settings dialog for the current layout where you can rename the tab, set the layout to be the one that is printed each week, pin it to the left-hand menu and give it a separate pinned title. We’ll cover more of those aspects in our next part.
That’s it for this first introduction to the Dashboards & Layouts. Have a look at the next article in this series that covers dashboard embedding, pinning layouts, and controlling weekly capture reports.


